CRM Connections
Automatoir integrates with HubSpot and Salesforce so you can push qualified prospects directly from Lead Research into your CRM. Each integration uses OAuth, discovers your available properties automatically, and lets you map Automatoir fields to the exact CRM fields you use internally.
What You'll Learn
- How to connect HubSpot or Salesforce via OAuth
- How Automatoir discovers the fields available in your CRM
- How to customize the field mapping between Automatoir and your CRM
- How to push a prospect to HubSpot or Salesforce
- How to disconnect or reset a mapping
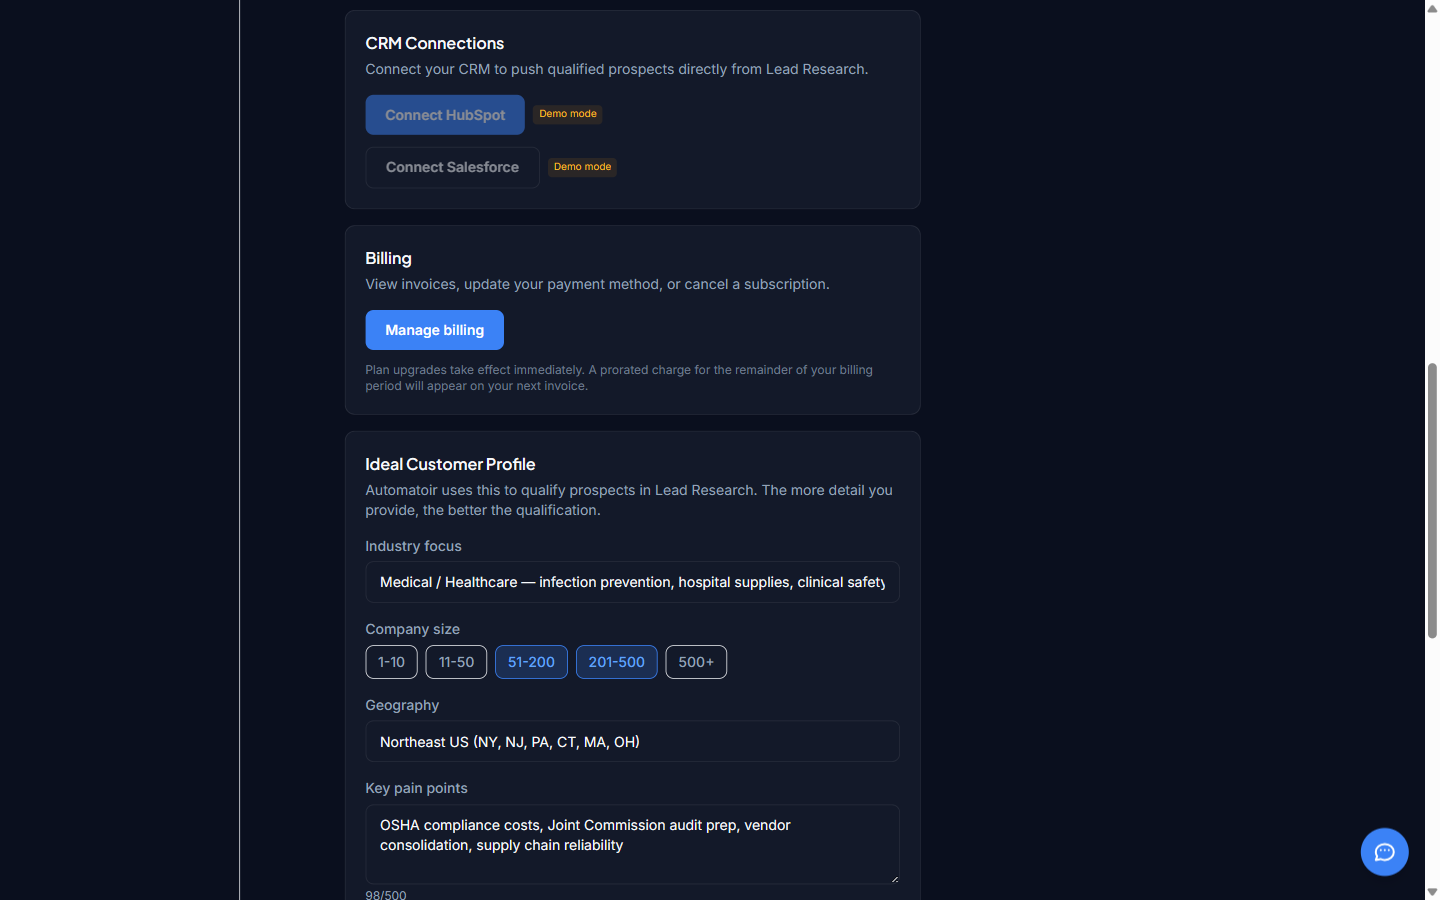
Connecting a CRM
Open Settings → CRM Connections. You'll see a card for each supported CRM with a Connect HubSpot or Connect Salesforce button.

Click the button for your CRM. You'll be redirected to the CRM's OAuth consent screen. Sign in with the account that owns your CRM data and approve the requested permissions — typically read and write access to Contacts (HubSpot) or Leads (Salesforce). Once you approve, you'll be returned to Automatoir and the connection card will show as connected.
Your access token is encrypted at rest using AES-256-GCM. Automatoir never stores raw CRM credentials.
Field Discovery
After connecting, Automatoir fetches the list of fields your CRM exposes:
- HubSpot — all Contact properties (typically 90+ fields including standard and custom properties)
- Salesforce — all Lead fields (typically 40+ fields including standard and custom Lead fields)
Field discovery runs automatically on first connect and whenever you re-open the field mapping dialog. Because both CRMs let admins add custom properties, the exact number of fields depends on your specific CRM instance.
Custom Field Mapping
Click Configure mapping on a connected CRM card to open the field mapping dialog. Each Automatoir field — first name, last name, email, company, job title, phone, city, qualification reasoning — appears next to a dropdown where you choose which CRM field it should map to.

Automatoir ships with sensible defaults: first_name maps to firstname in HubSpot and FirstName in Salesforce, email to email / Email, and so on. You can override any mapping to target a custom property — for example, pointing qualification_reasoning at a custom Lead field called Automatoir_Notes__c.
- Save — persists your mapping. Future pushes use it automatically.
- Reset to defaults — clears your custom mapping and restores the out-of-the-box defaults.
Pushing a Prospect
Once a CRM is connected and your mapping is saved, open a prospect in Lead Research. In the row actions menu you'll see Push to HubSpot and/or Push to Salesforce options.
- HubSpot push — Automatoir creates (or updates) a HubSpot Contact with the mapped fields. If a contact with the same email already exists, Automatoir updates it instead of creating a duplicate.
- Salesforce push — Automatoir creates a Salesforce Lead with the mapped fields. The prospect is linked to the resulting Lead ID so you can track status over time.
After a successful push, a CRM badge appears on the prospect row indicating which CRM the record lives in. Click the badge to jump to the record in your CRM.
Disconnecting a CRM
To revoke Automatoir's access to your CRM, click Disconnect on the connection card. This deletes the stored OAuth token and clears your field mapping. Previously pushed records remain in your CRM — disconnecting only stops Automatoir from sending new data.
You can reconnect at any time. Automatoir will prompt you to re-run field discovery and re-save your mapping.
Troubleshooting
- Field doesn't appear in the dropdown — Close and reopen the mapping dialog to force a fresh field discovery. Some custom properties take a moment to propagate in your CRM.
- Push succeeds but a field is missing on the CRM record — Some CRM properties are read-only on specific object types. If you map to a non-writable property, the CRM may silently drop that field. Check the property definition in your CRM admin settings.
- OAuth error during connect— Confirm the redirect URI configured in your HubSpot or Salesforce app matches the one Automatoir is using. For Salesforce, make sure your connected app allows the "api" and "refresh_token" scopes.
Related Guides
- Adding Prospects— Create prospects that you'll later push to your CRM.
- AI Qualification — Qualify prospects so you only push the best fits into your CRM.
- Settings — Overview of every configuration section, including CRM Connections.